Our Game
At first we had planned our game to be a platformer, similar to popular games such as Geomerty Dash or OvO. However towards the last two weeks, we had not even gotten collisions nor platforms complete and chose to simplify our code, instead choosing a much more simple Dinosaur Game inspiration.
First Steps
The first thing we did was figure out what we wanted our game to look like. Due to seeing Mr. Mortensen’s alien theme, we decided we wanted something similar and went for a similar idea, after locating various assets we finally had a background and a main character. My first job was to get the animations to work for the main character, which we decided to be a robot. It was quite simple, just a copy and paste of some code we had done before, however one thing had frustrated me to no end. I could not get the sprite to display the entire thing and therefore it was cut off. However, after someone reviewed my work they promptly pointed out how I had a sprite width and height variable and after changing it to match the sprite, it promptly fixed it self. After adding a radio style button (a button which can only have one input at a time) to switch between the various animations. At the time we faced another issue, the canvas’s of the website theme were automatically inverted, so we added a button that could invert the image on press.

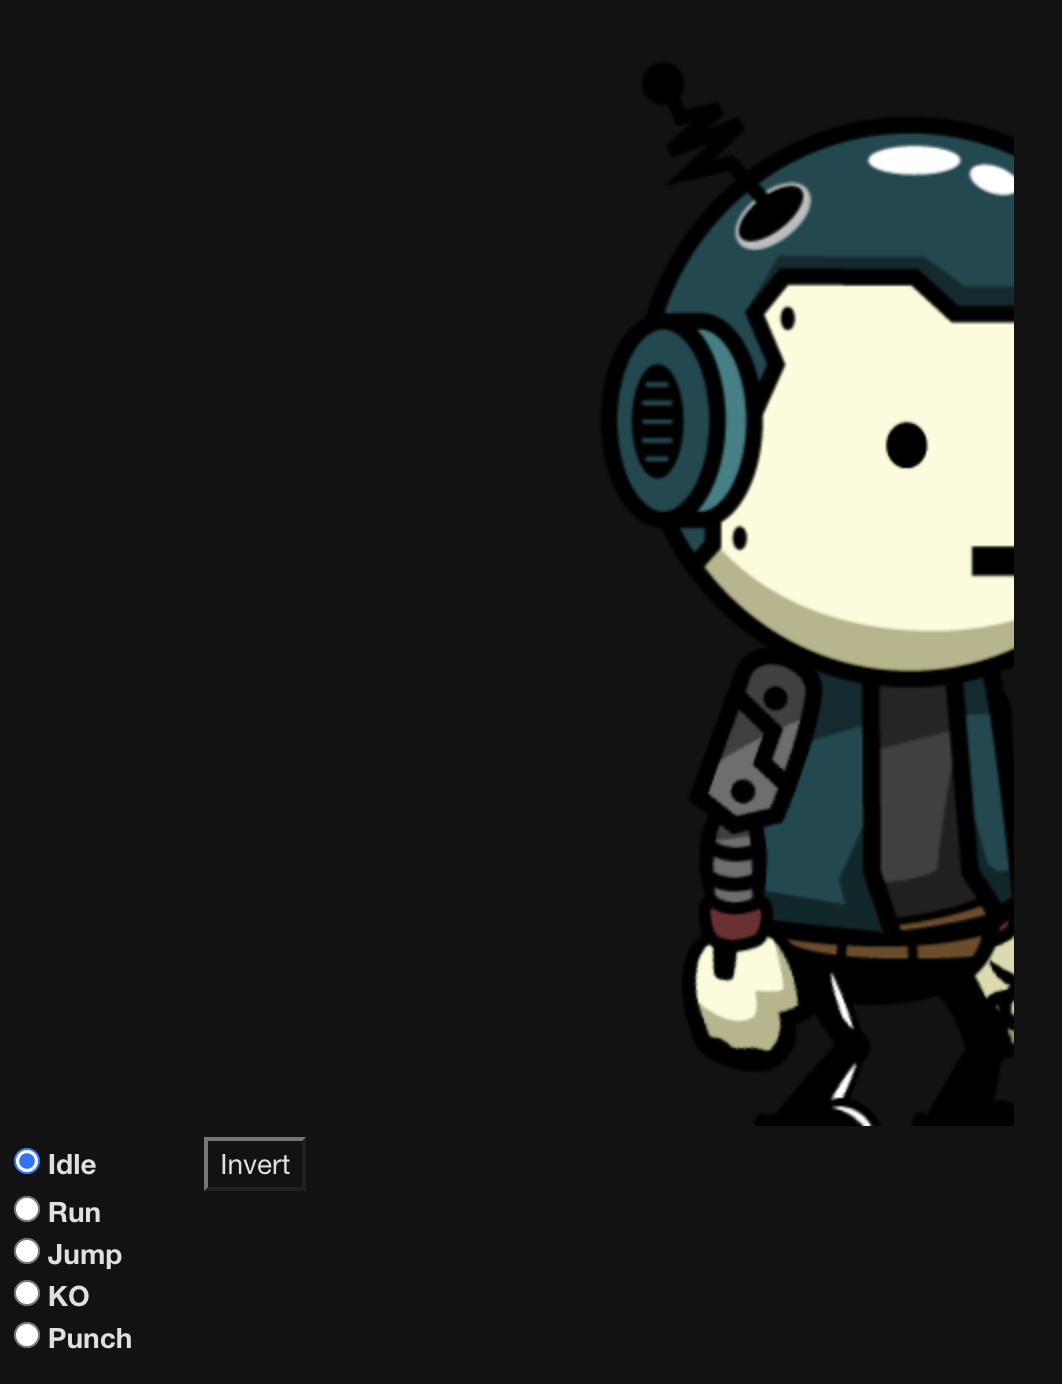
<!-- Radio type inputs for selecting only one at a time, and also switches selected animation -->
<div id="controls">
    <input type="radio" name="animation" id="idle" checked>
    <label for="running">Idle</label>
    <!-- Invert Button -->
    <button class="button" onclick="invert()" style="margin-left:50px">Invert</button><br>
    <!-- End Invert Button -->
    <input type="radio" name="animation" id="run">
    <label for="run">Run</label><br>
    <input type="radio" name="animation" id="jump">
    <label for="jump">Jump</label><br>
    <input type="radio" name="animation" id="ko">
    <label for="ko">KO</label><br>
    <input type="radio" name="animation" id="punch">
    <label for="punch">Punch</label><br>
</div>
    // Runs this whenever the page is loaded
    window.addEventListener('load', function () {
        // Names the parameters of all canvases on the page, using the `get.ElementById`
        const canvas = document.getElementById('spriteContainer');
        const ctx = canvas.getContext('2d');
        const SPRITE_WIDTH = 798;
        const SPRITE_HEIGHT = 721;
        const SCALE_FACTOR = 1;
        const FRAME_RATE = 30;
        canvas.width = SPRITE_WIDTH * SCALE_FACTOR;
        canvas.height = SPRITE_HEIGHT * SCALE_FACTOR;
<script>
    let inverted = false;
    function invert() {
        const canvas = document.getElementById("spriteContainer")
        if (inverted) {
            canvas.style.filter = "invert(100%)";
        }
        else {
            canvas.style.filter = "invert(0%)";
        }
        inverted = !inverted
    }
</script>
Home Screen
After finally completing the robot animations I decided to try to do something I thought would be easy. So I tried making a home screen or settings screen that you could swap to using a DOM. However I quickly ran into many issues and after two days working at it decided to give up the idea of using a DOM, but at this point I was too far in so I decided to look for other ideas, such as a style that might hide the div containing the canvas. After googling and consulting ChatGPt I discovered the display style which can hide a piece of code. So after that I just added a boolean variable that would be swapped whenever you press a button and some if statements to check the boolean for which objects to hide and which to reveal. Using this I also discovered how to change attributes and sources to items, using document.getElementById("id").style.display = "none"; which just changes the display attribute to be set to none, or visible.
// Setting Swap
let canvasVisible = true;

function switchText() {
        const canvas = document.getElementById("canvas");
        const paragraph = document.querySelector("#setting p");

        if (canvasVisible) {
            canvas.style.display = "none";
            paragraph.style.display = "block";
        } else {
            canvas.style.display = "block";
            paragraph.style.display = "none";
        }

        canvasVisible = !canvasVisible;
    }
Background Music
After I finally discovered how to change attributes, I completely forgot about the game. I wanted to mess around with attribute changing and in order to have an excuse to do that I decided to work on a background customizable music. Basically my idea was that you would be able to change the song playing in the background using a YouTube url. I had planned on using an <iframe> from YouTube in order to do this. However I realized that autoplaying the video would be impossible due to the way browsers usually block videos that play audio from autoplaying. At the time i did not really care though and decided to work on it anyways. My plan was to give the <iframe> an id and use a document.getElementById("id").src = "YouTubeURL" in order to change the source of the video to whatever URL was pasted into an text <input>. I quickly realized when working on it just how difficult it was, due to the nature of the <iframe> I realized you could not just switch the src out for the pasted URL, but instead had to use the video ID in order to reference it. Luckily this was quite simple as all it required was putting the video URL through an string that would filter out the last 11 characters of the URL, where the id was luckily stored. My other issue at the time was figuring out how to get the input to work, I learned alot about inputs through this piece of code and eventually got the value from the input to go into a string that would filter out the last 11 digits and then change the source. After I thought everything was done a fellow in my group came by, this man was very judgy and believed he could make my code better. He decided to work on getting the autoplay to work, but of course he had no idea how. So he threw it at ChatGPT, where it gave him a simple answer: Use the YouTube API. For some reason when using the YouTube API browsers can’t tell a video will play audio and allows it to play the video. This is probably due to the fact the API actually is rendered after the page loads. After eventually figuring out how to get all of this work we decided to add a mute button, since what if someone didn’t want to listen to background music, y’know. So after after adding that in using a built in command to the YouTube API we decided, hey, what if someone wants to listen to the default song? So we added a button to do that using the exact same method as the URL id, just without an input string.
After all of this we decided it was done and finally done, I was getting sick of changing attributes at that point and decided to re-focus back on the game. Unfortunately I spent the last few weeks on this project, and finally started getting back to work on the game in the last two weeks with barely anything done.
const tag = document.createElement('script');
tag.src = 'https://www.youtube.com/iframe_api';
const firstScriptTag = document.getElementsByTagName('script')[0];
firstScriptTag.parentNode.insertBefore(tag, firstScriptTag);


// This function creates an <iframe> (and YouTube player) after the API code downloads.
function onYouTubeIframeAPIReady() {

    //Assigns x a random variable
    let x = Math.random();

    //If Audio is less than 0.5 assign the first link, if not, assign the second link
    let audio = (x < 0.5) ? 'xZhrZMervZU' : 'VGNcGl1zVjQ';
    if (audio === "VGNcGl1zVjQ") {
        document.getElementById("defaultButton").innerHTML = "Switch to Defailt 1"
    }

    //Properties for Youtube Player
    player = new YT.Player('player', {
        height: '0',
        width: '0',
        videoId: audio, // Randomized video ID
        playerVars: {
            'autoplay': 1, //Automatically Plays Video
            'loop': 1 //Loops Audio
        },
    });
}
Movement Integrations
I decided to try and get smooth transitions between the many animations the robot had, this was in order to make it move smoothly in the game. However I soon ran into a very vexing issue where I realized although the code was simple, it felt too long. I had many, many if statements, updating multiple times a second, along with if statements to cycle to the correct animation after an animation completed once. This was due to a start up animation within the spritesheet, where the robot sprite had an idle to running animation, along with a running animation. For some reason I didn’t ignore it and spent multiple days trying to connect it all. This was all for naught as well since in the end we didn’t have time and it felt too bulky so we removed this feature.